How to Build an Emotion Detection Application?

How to Build an Emotion Detection Application?
Emotion AI is a technology that measures, analyzes, and responds appropriately to human emotions. A portion of artificial intelligence is used in this system. Artificial visual intelligence has made it possible to recognize emotions. What if we told you that you could detect emotion very quickly? Thanks to Cameralyze, you can detect the emotion of the image you want.
You can watch our guide video or continue reading to create your own Emotion Detection application on Cameralyze no-code platform.
To begin with, upon registration, you will see a dashboard similar to the one below;
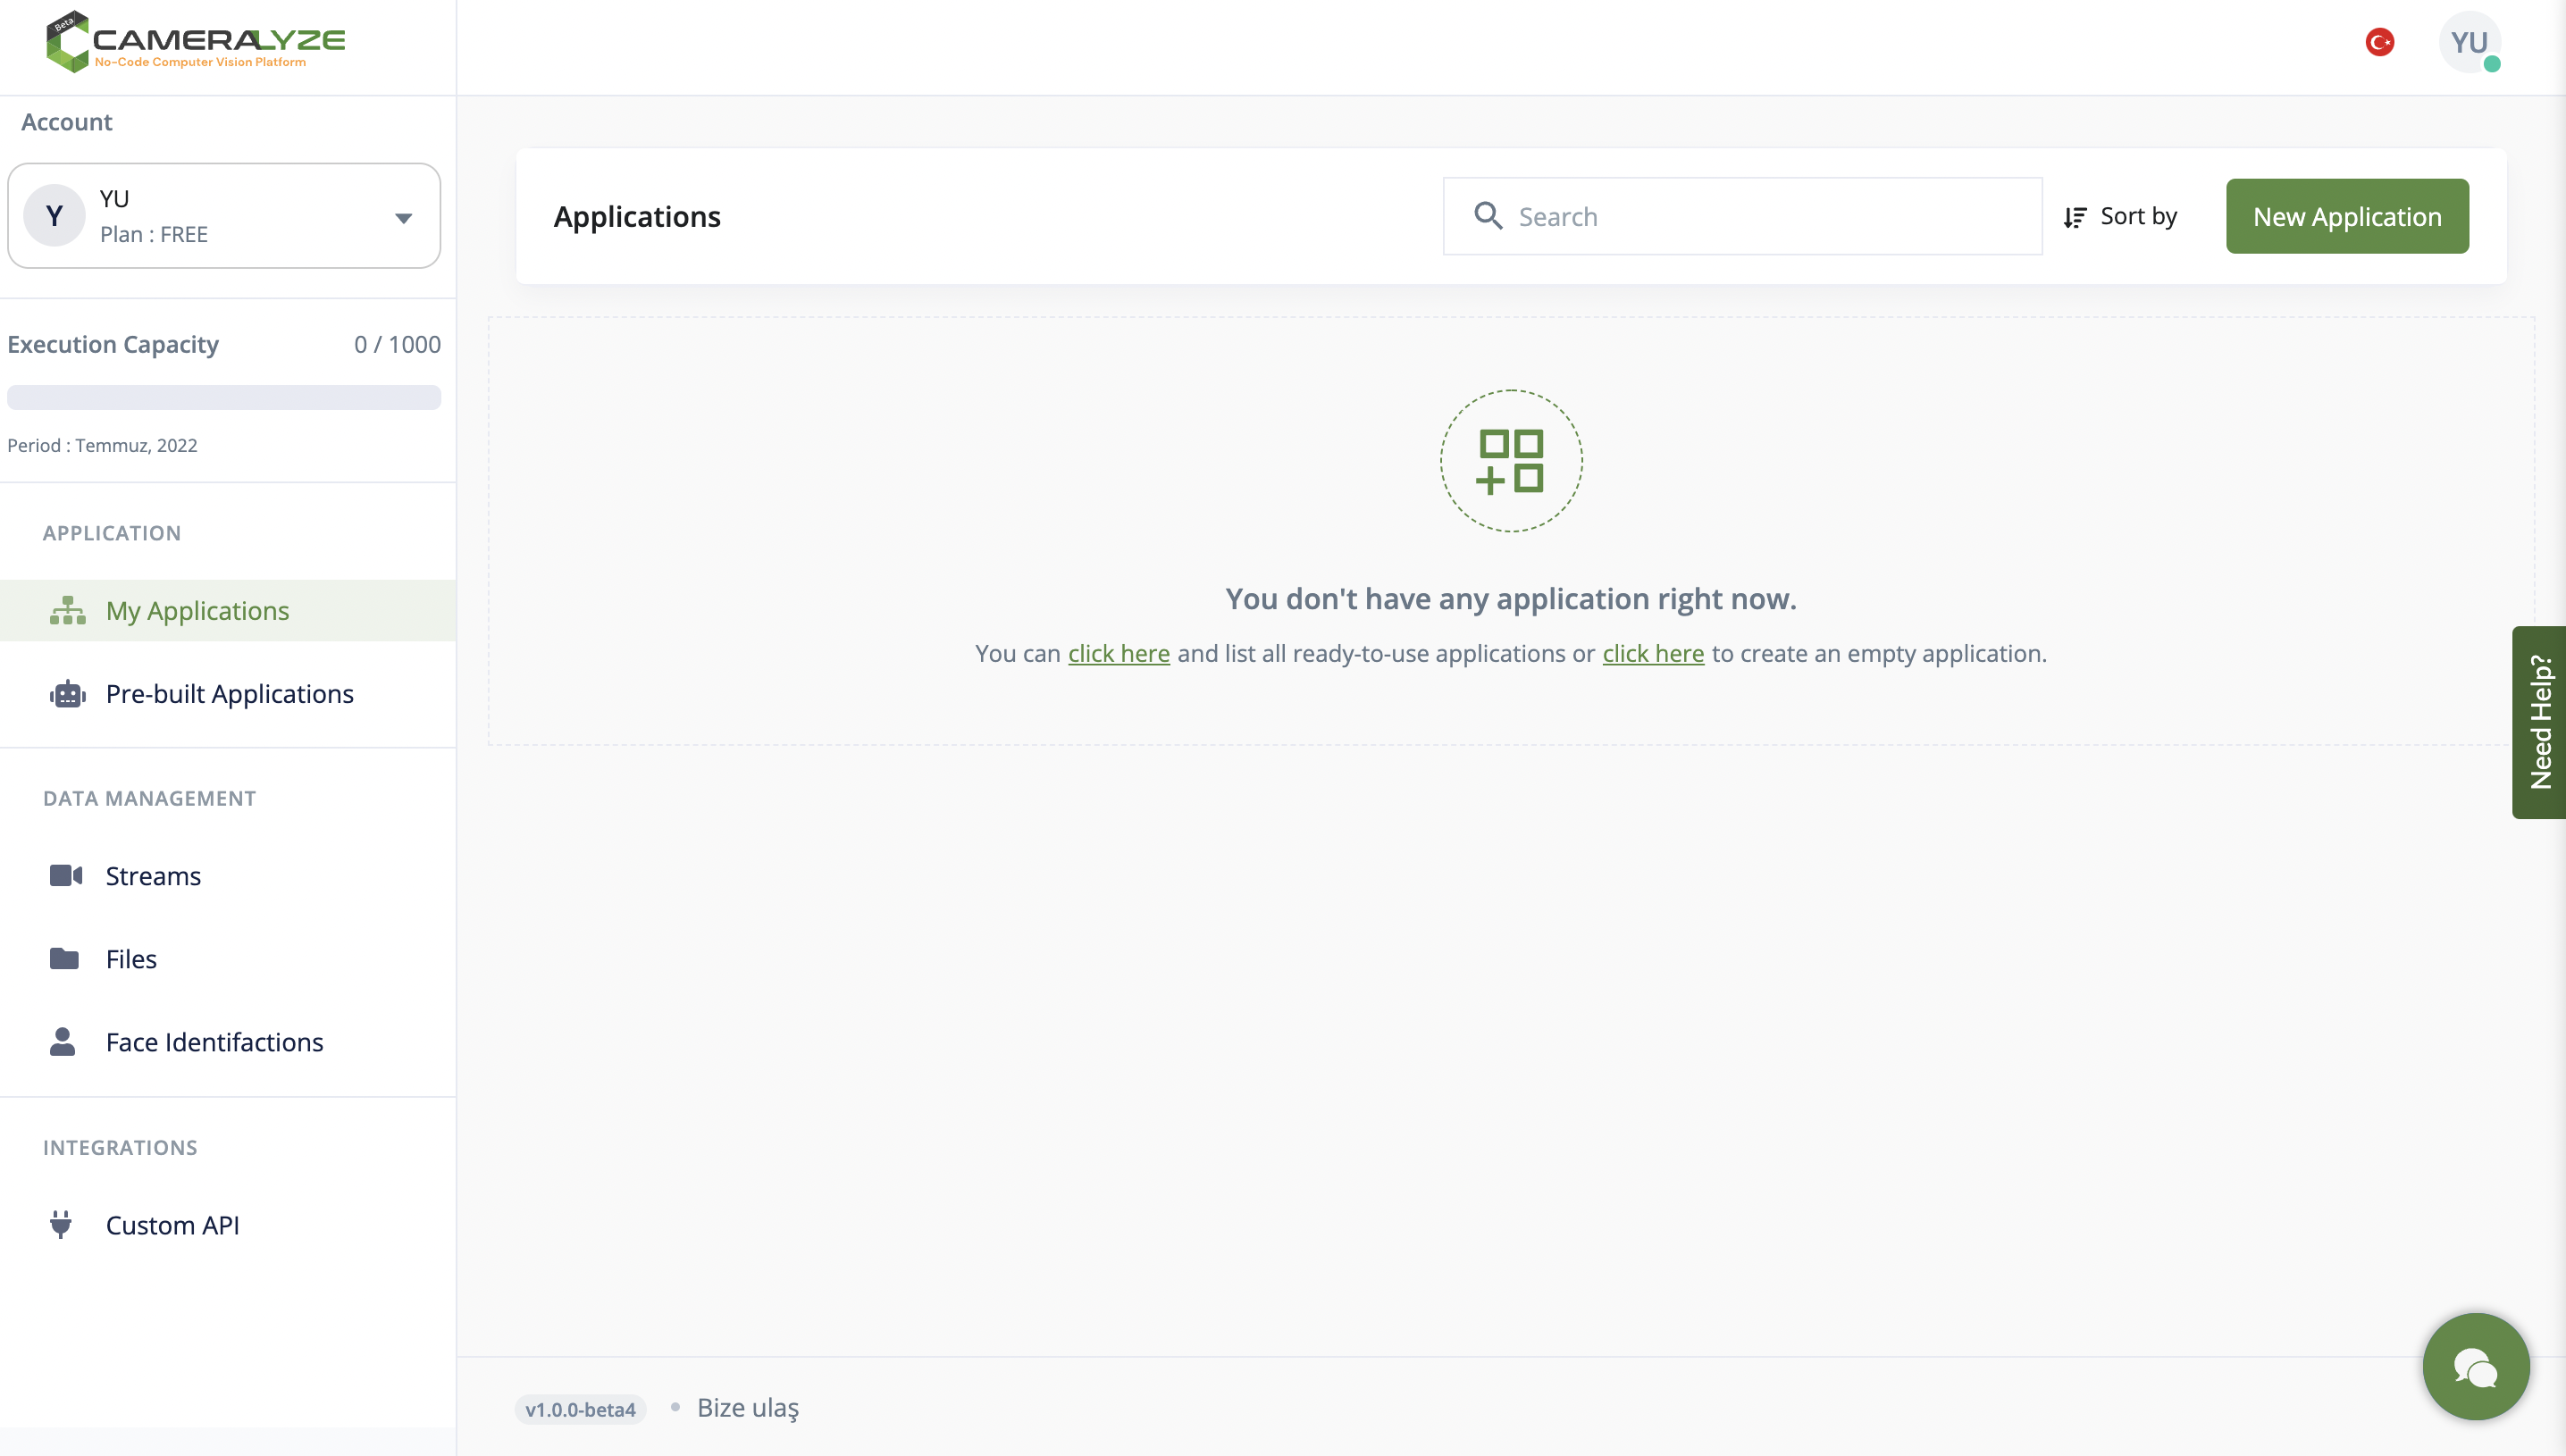
We select "New Application" because we would like to create a new application. You will be led to the window seen in the following image. Selecting a trigger technique that will launch the program should be your initial step. To put it another way, you need to decide what kind of resource you will use to provide data to your application. Here we click the "Trigger for a File" method.

The system will sent you to the window shown below. In the "Trigger for a File" section, you may rapidly upload a video or a picture. In this example, we will be uploaded image to the system which contain facial emotion.

As you can see in the example below, you can either select the image you uploaded and proceed, or you can create a file and upload it and then select the folder where you uploaded the image.

Then you are sent to a screen that allows you to select your application type. In this situation, we select "Emotion Detection" to proceed.

If you click on emotion detection card, a window similar to the one in the sample image below will pop up. You should now choose the sort of result you want to receive from your application results in order to improve the results data. With the help of Cameralyze's integrations you may obtain your desired result through a variety of its solutions, including its API, Slack, Sheet, and other platforms. In this example, I select "Save to an API."

After selecting the API option, you need to choose one of the API options you created before, as you can see in the screenshot below. In this example I chose the following API option and continued.

I select the "Application Preview" button to check the functionality of the application I built before sending it, then I export the results to JSON Response, Google Drive, Dropbox, Slack, etc. I added the identical image with the previous image that I have uploaded it to serve as an example for you.

We may also obtain the JSON answer while "Preview," as shown by the preview in the image below.

The choice that we chose to submit the application results as the last step persisted after we confirmed that the program was functioning properly using the "Preview" option. You may pick between three choices in the "Result" section to save your result to a spreadsheet, submit it to an API, or store JSON return results.
To view all integrations, click here!
It's just that simple!
.png)