.jpg)
Basic Image Processing Application: Resizing (scaling), Rotating, and Cropping
BASIC IMAGE PROCESSING APPLICATION: Resizing (scaling), Rotating, and Cropping
We all know that due to the power of computers, the development of internet technology, and the increasing prevalence of mobile devices, the importance of data analysis has increased, leading to the advancement of artificial intelligence studies. I will make a small application about image processing, one of the sub-fields of this developing artificial intelligence. If you're curious, let's get started.
As a result of my research for my article on image processing, I decided to use the python language and the OpenCV library. If you want to make this application with me, you can do these installations. In this application, I used Python 3.10.5 version, OpenCV-python 4.6.0.66 version, and Pycharm as IDE. We can start writing our codes now that we have done the installations.
Line 1:

Line 2: First, we added our OpenCV package to our project with the import keyword, and now we can read our image.
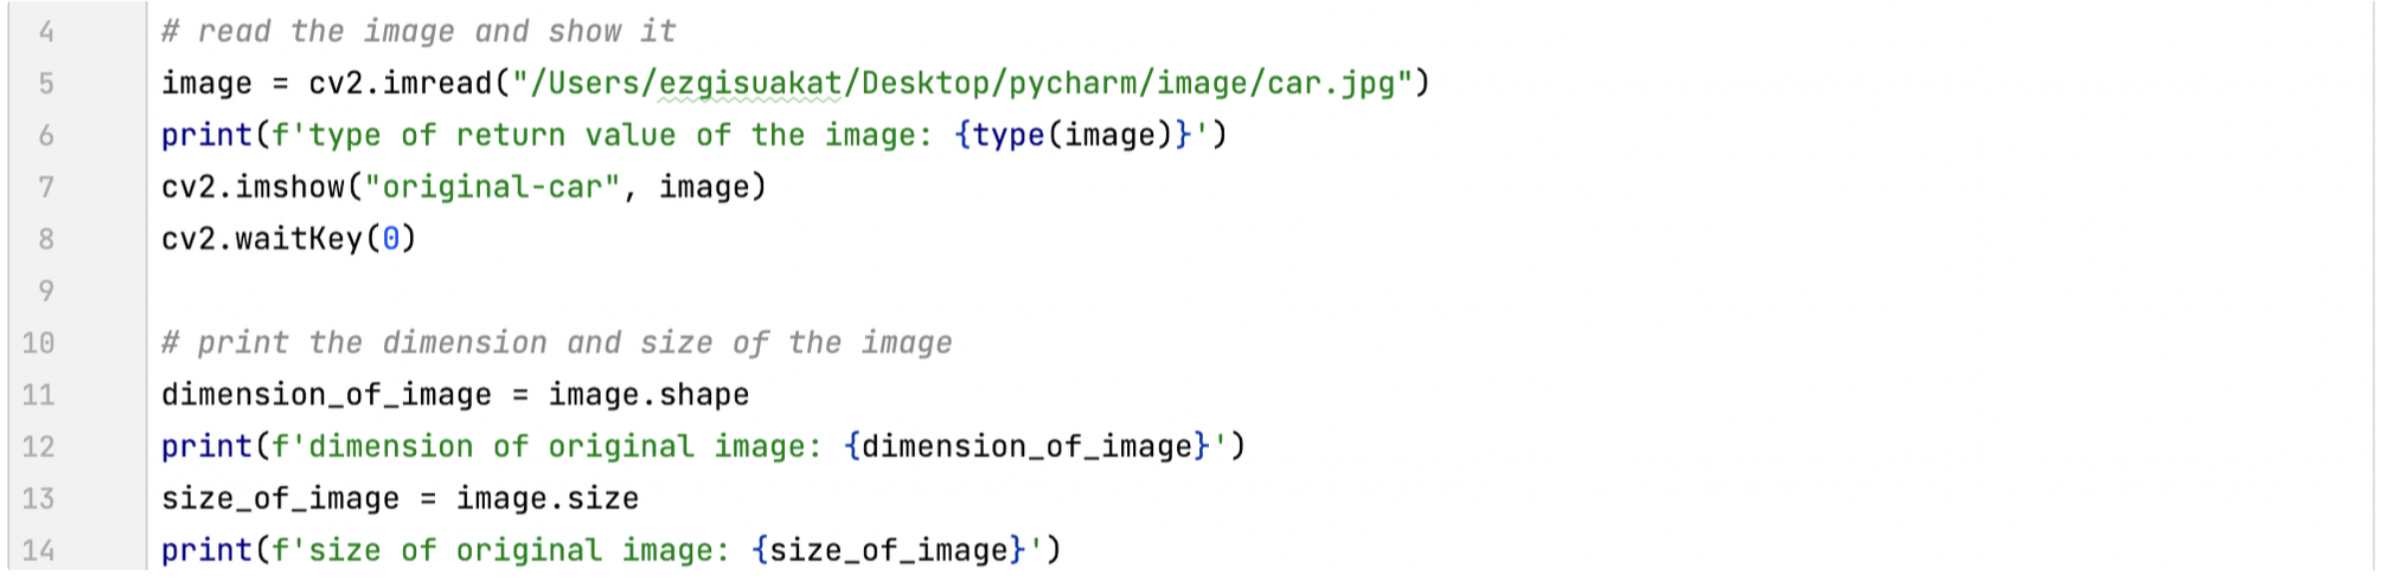
Line 5: We can read and upload the image using the imread function. We have given the path to the file containing our image as a parameter to the imread function.
Line 6: We can see that the return value of the imread function is Numpy ndarray.
Line 7: We display our picture on the screen with the imshow function. In the first parameter of the imshow function, we name the window that allows the image to be displayed on the screen. In the second parameter, we write the image we uploaded.
Line 8: The waitKey function makes the picture stay on the screen until we press a key. We give the value 0 as the parameter.

After viewing our image, we can now learn about its dimensions.
Line 9: Here, we obtain the size of the image with the shape attribute.
Line 11: With the size attribute of the image, we can learn how many pixels our image consists of in total.

(1280, 1920, 3), where the picture described here consists of 1280 rows and 1920 columns, 3 represents RGB(red, green, blue), that is, it says the image is colored. But openCv calculates not width X length but length X width. That is if 1280 is length pixels and 1920 is width pixels. The value of 7372800 shows how many pixels the picture consists of. This way, we get the same result 1280 * 1920 * 3 = 7372800.
Now let's resize the image together. Let's make the width of our picture 200 pixels; of course, while doing this, we must create the ratio we call aspect ratio and change the length of the picture at the same rate, so there is no distortion in the picture. We can specify the aspect ratio newwidth / oldwidth. If we're ready, let's get started!
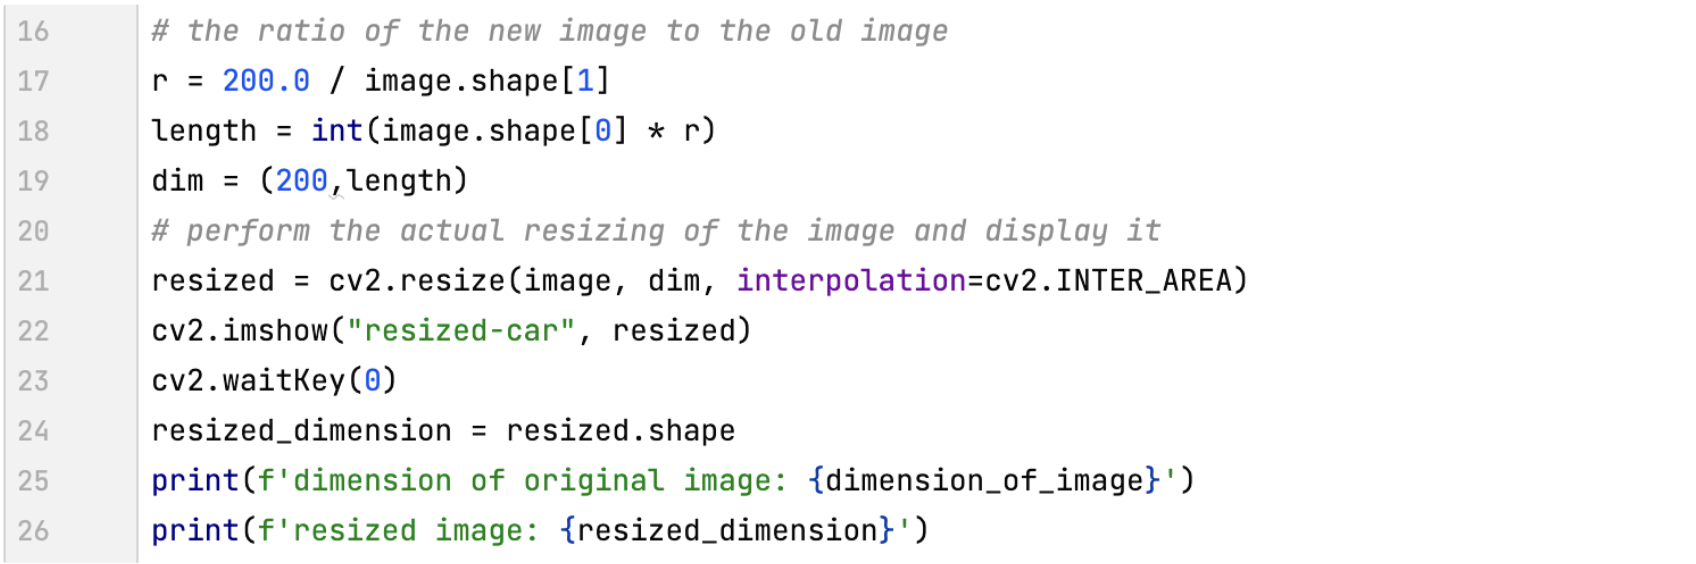
Line 17: We created the aspect ratio.
Line 18: We found the new length.
Line 21: We passed our original image to the 1st parameter of the resize function, the size of the image we want to the 2nd parameter, and the INTER_AREA method to the 3rd parameter.
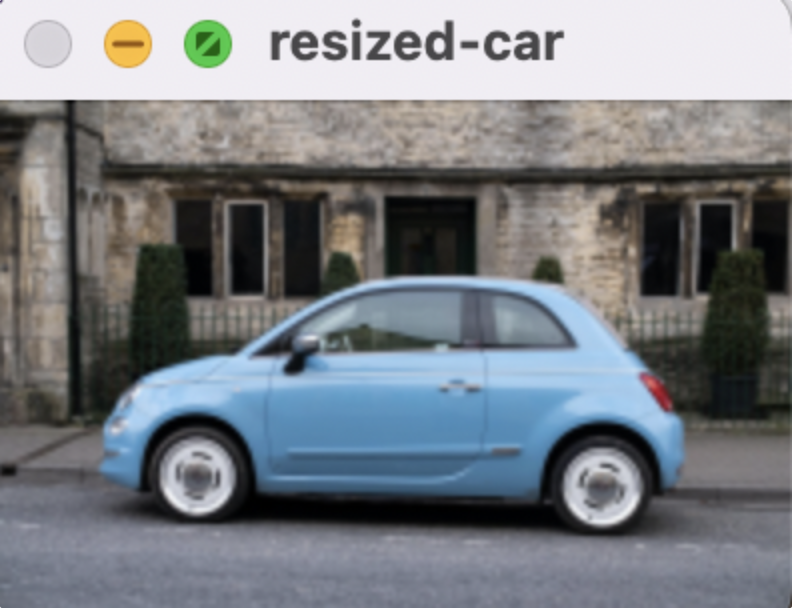
Line 25-26: Let's take a look at the dimensions of the images resized with the original image.

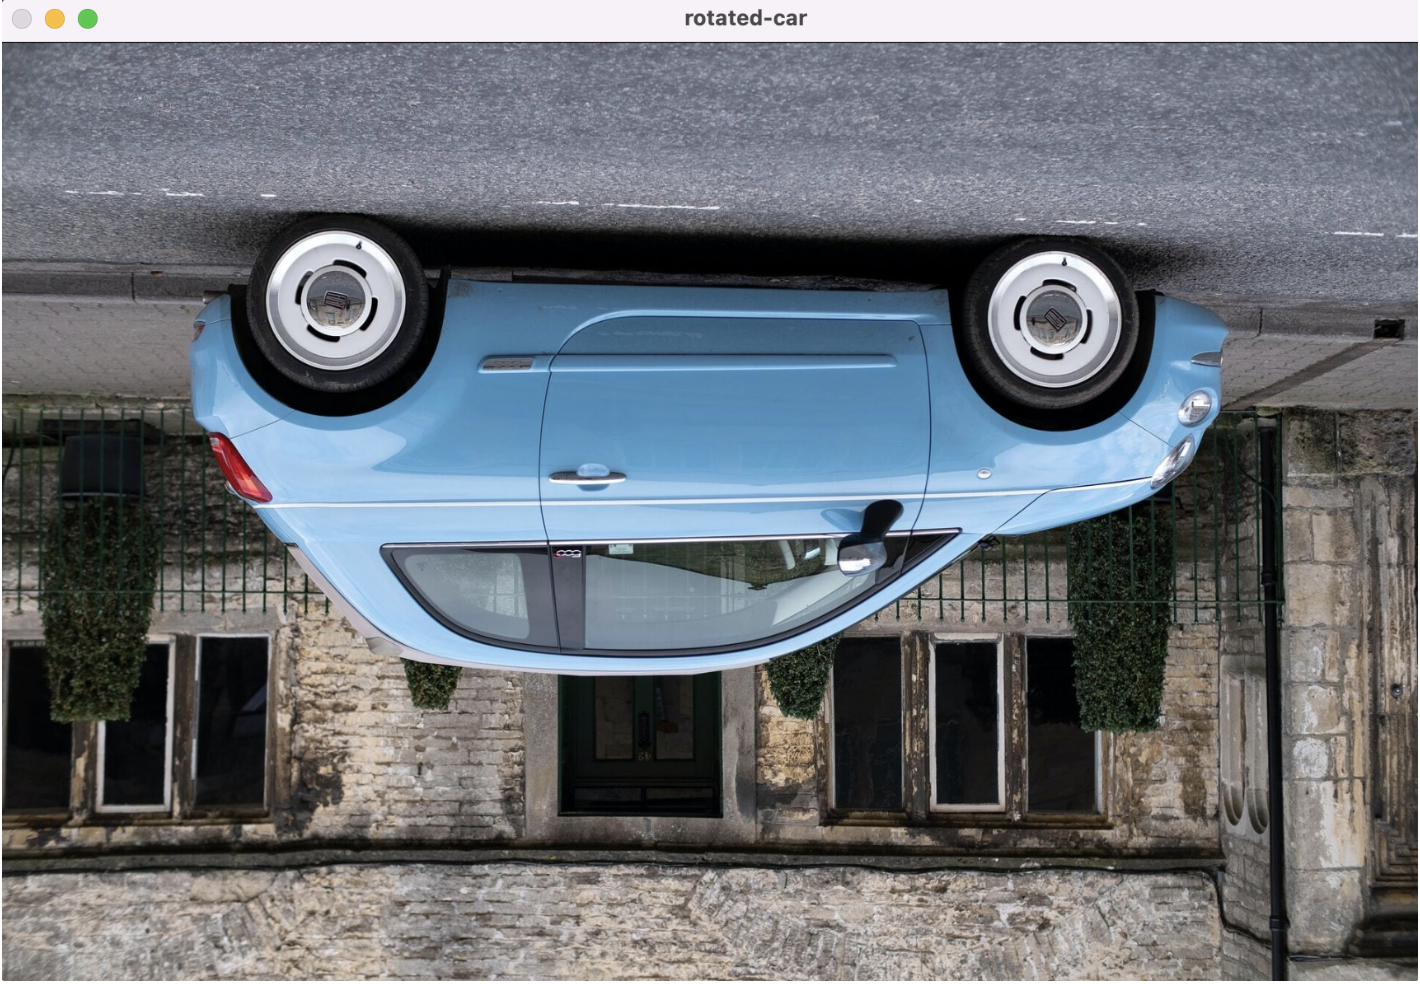
Let's continue the process on our picture without slowing down. Now let's rotate our image 180 degrees.

Line 29-30: We determined the center of our picture by taking our picture's height and length values and dividing them by 2.
Line 33: We entered the 1st parameter of the getRotationMatrix2D function how many degrees we want to rotate the center point of our image to the 2nd parameter. The 3rd parameter of the function enables zooming on the picture, so we entered the value 1 and rotated 180 degrees over the original picture to obtain our matrix.
Line 34: We perform the actual rotation with the warpAffine function. We give the first parameter of the function our original image, the second parameter the return value we obtained from the getRotationMatrix2D function, and the third parameter the size of our original image.
Now we are coming to the end of our process of making changes to our image. We could read our image with the imread function and have seen before that the return value numpy ndarray was returned to us.
Since the return value is numpy ndarray, we can get the parts we want from our picture by doing the slice operation here.

Line 38: We got the region we want on our picture by making a slice operation.
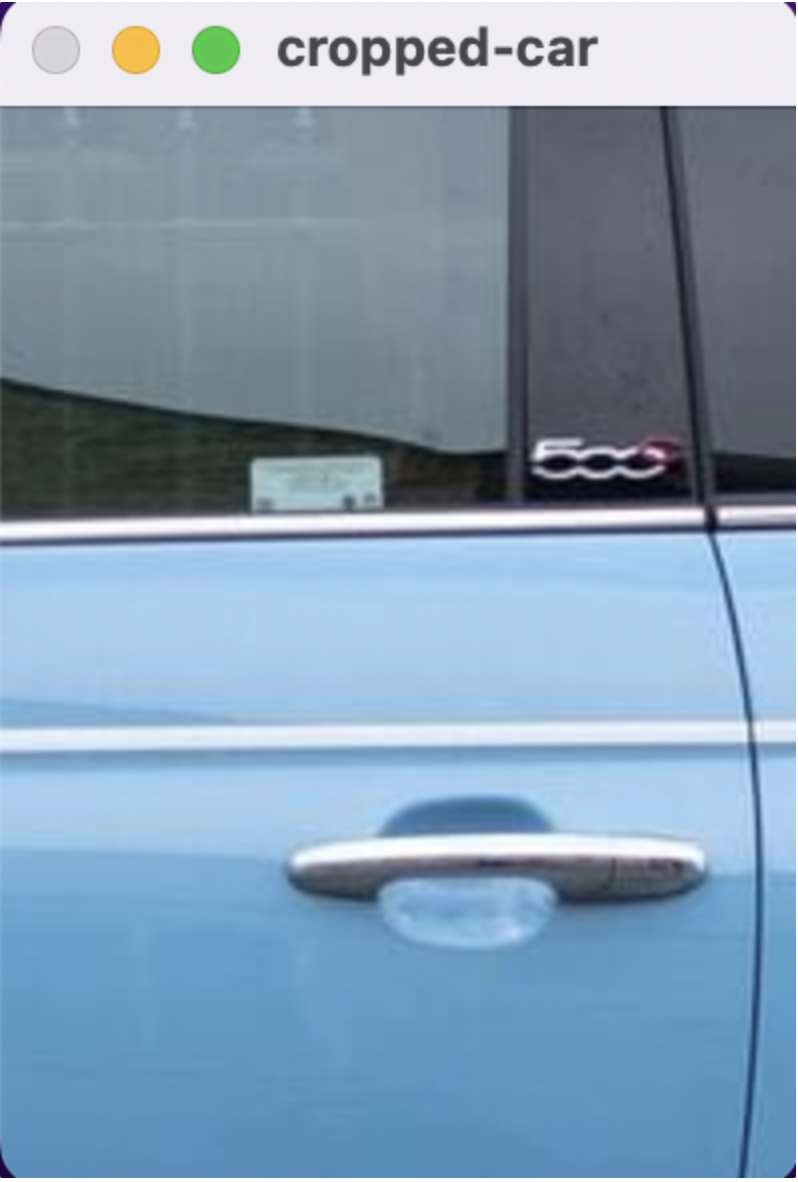
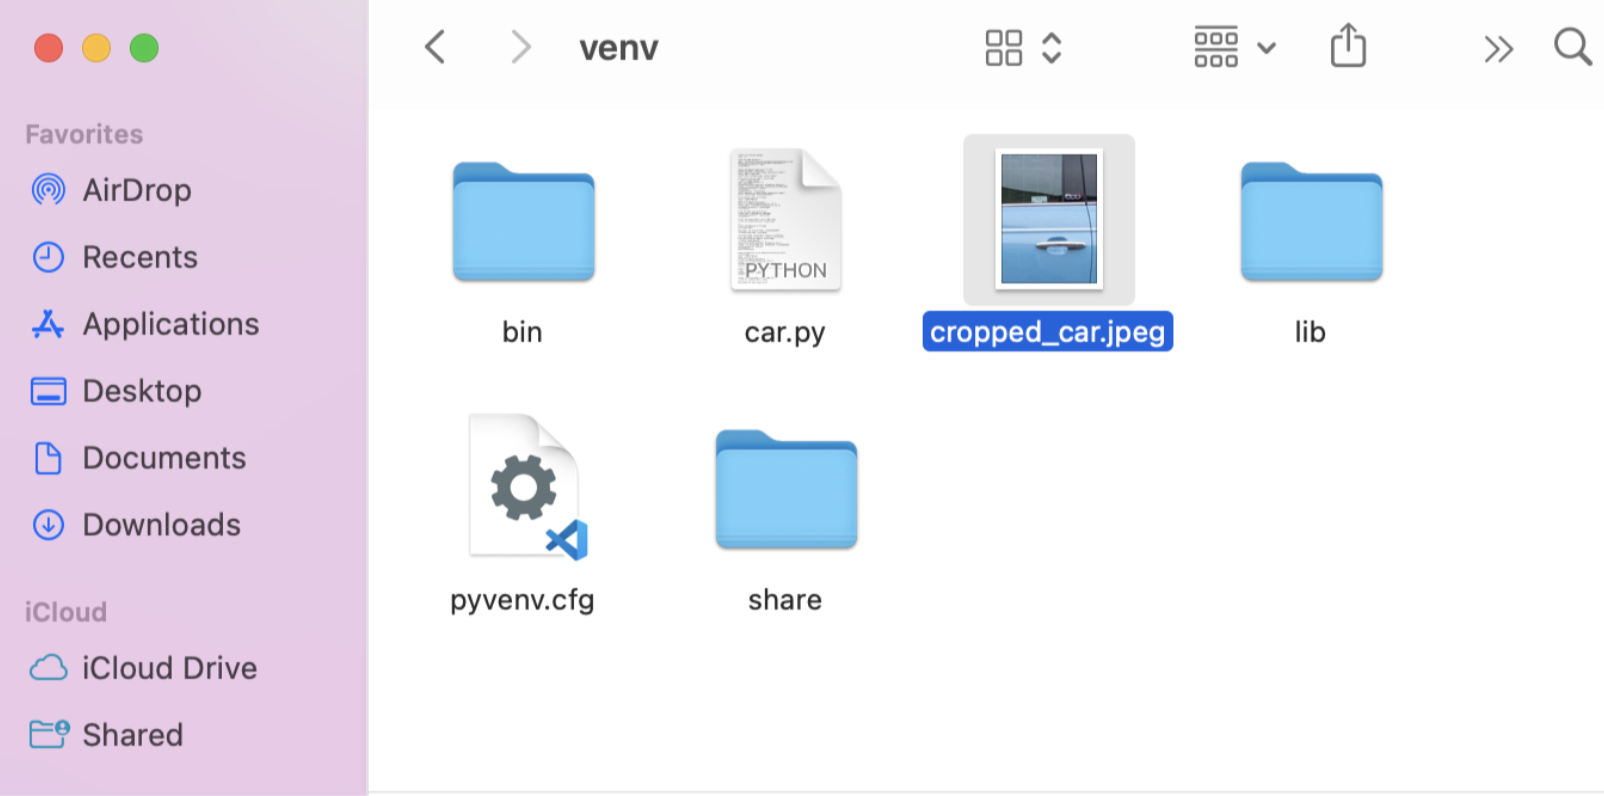
And finally, let's show the process of saving the picture by saving this cropped picture.

Line 43: With the imwrite function, we can save our image in formats such as jpeg or png. We write the picture's name in the first parameter and the picture we want to save in the second parameter.
In this way, we have made our last application, hope you enjoyed reading this application.
If you are looking for an AI-based automatic tool rather than writing code, try our platform, where you can take all the actions mentioned above without writing a single line of code on the Cameralyze platform.