How to Build a Human Detection Application?

How to Build a Human Detection Application?
People detection processes start with the detection of people on video or image. After this detection, "objects classified as human," in other words, objects that will be classified as human afterward, are separated from the background and marked. This marking means that people are enclosed in a thin rectangular frame.
What if we said that it is very easy to detect people from photos & videos and you can do it very easily with Cameralyze?
You can watch our guide video or continue reading to create your own Human Detection application on Cameralyze no-code platform.
First of all, after registering, you will see the following screen.
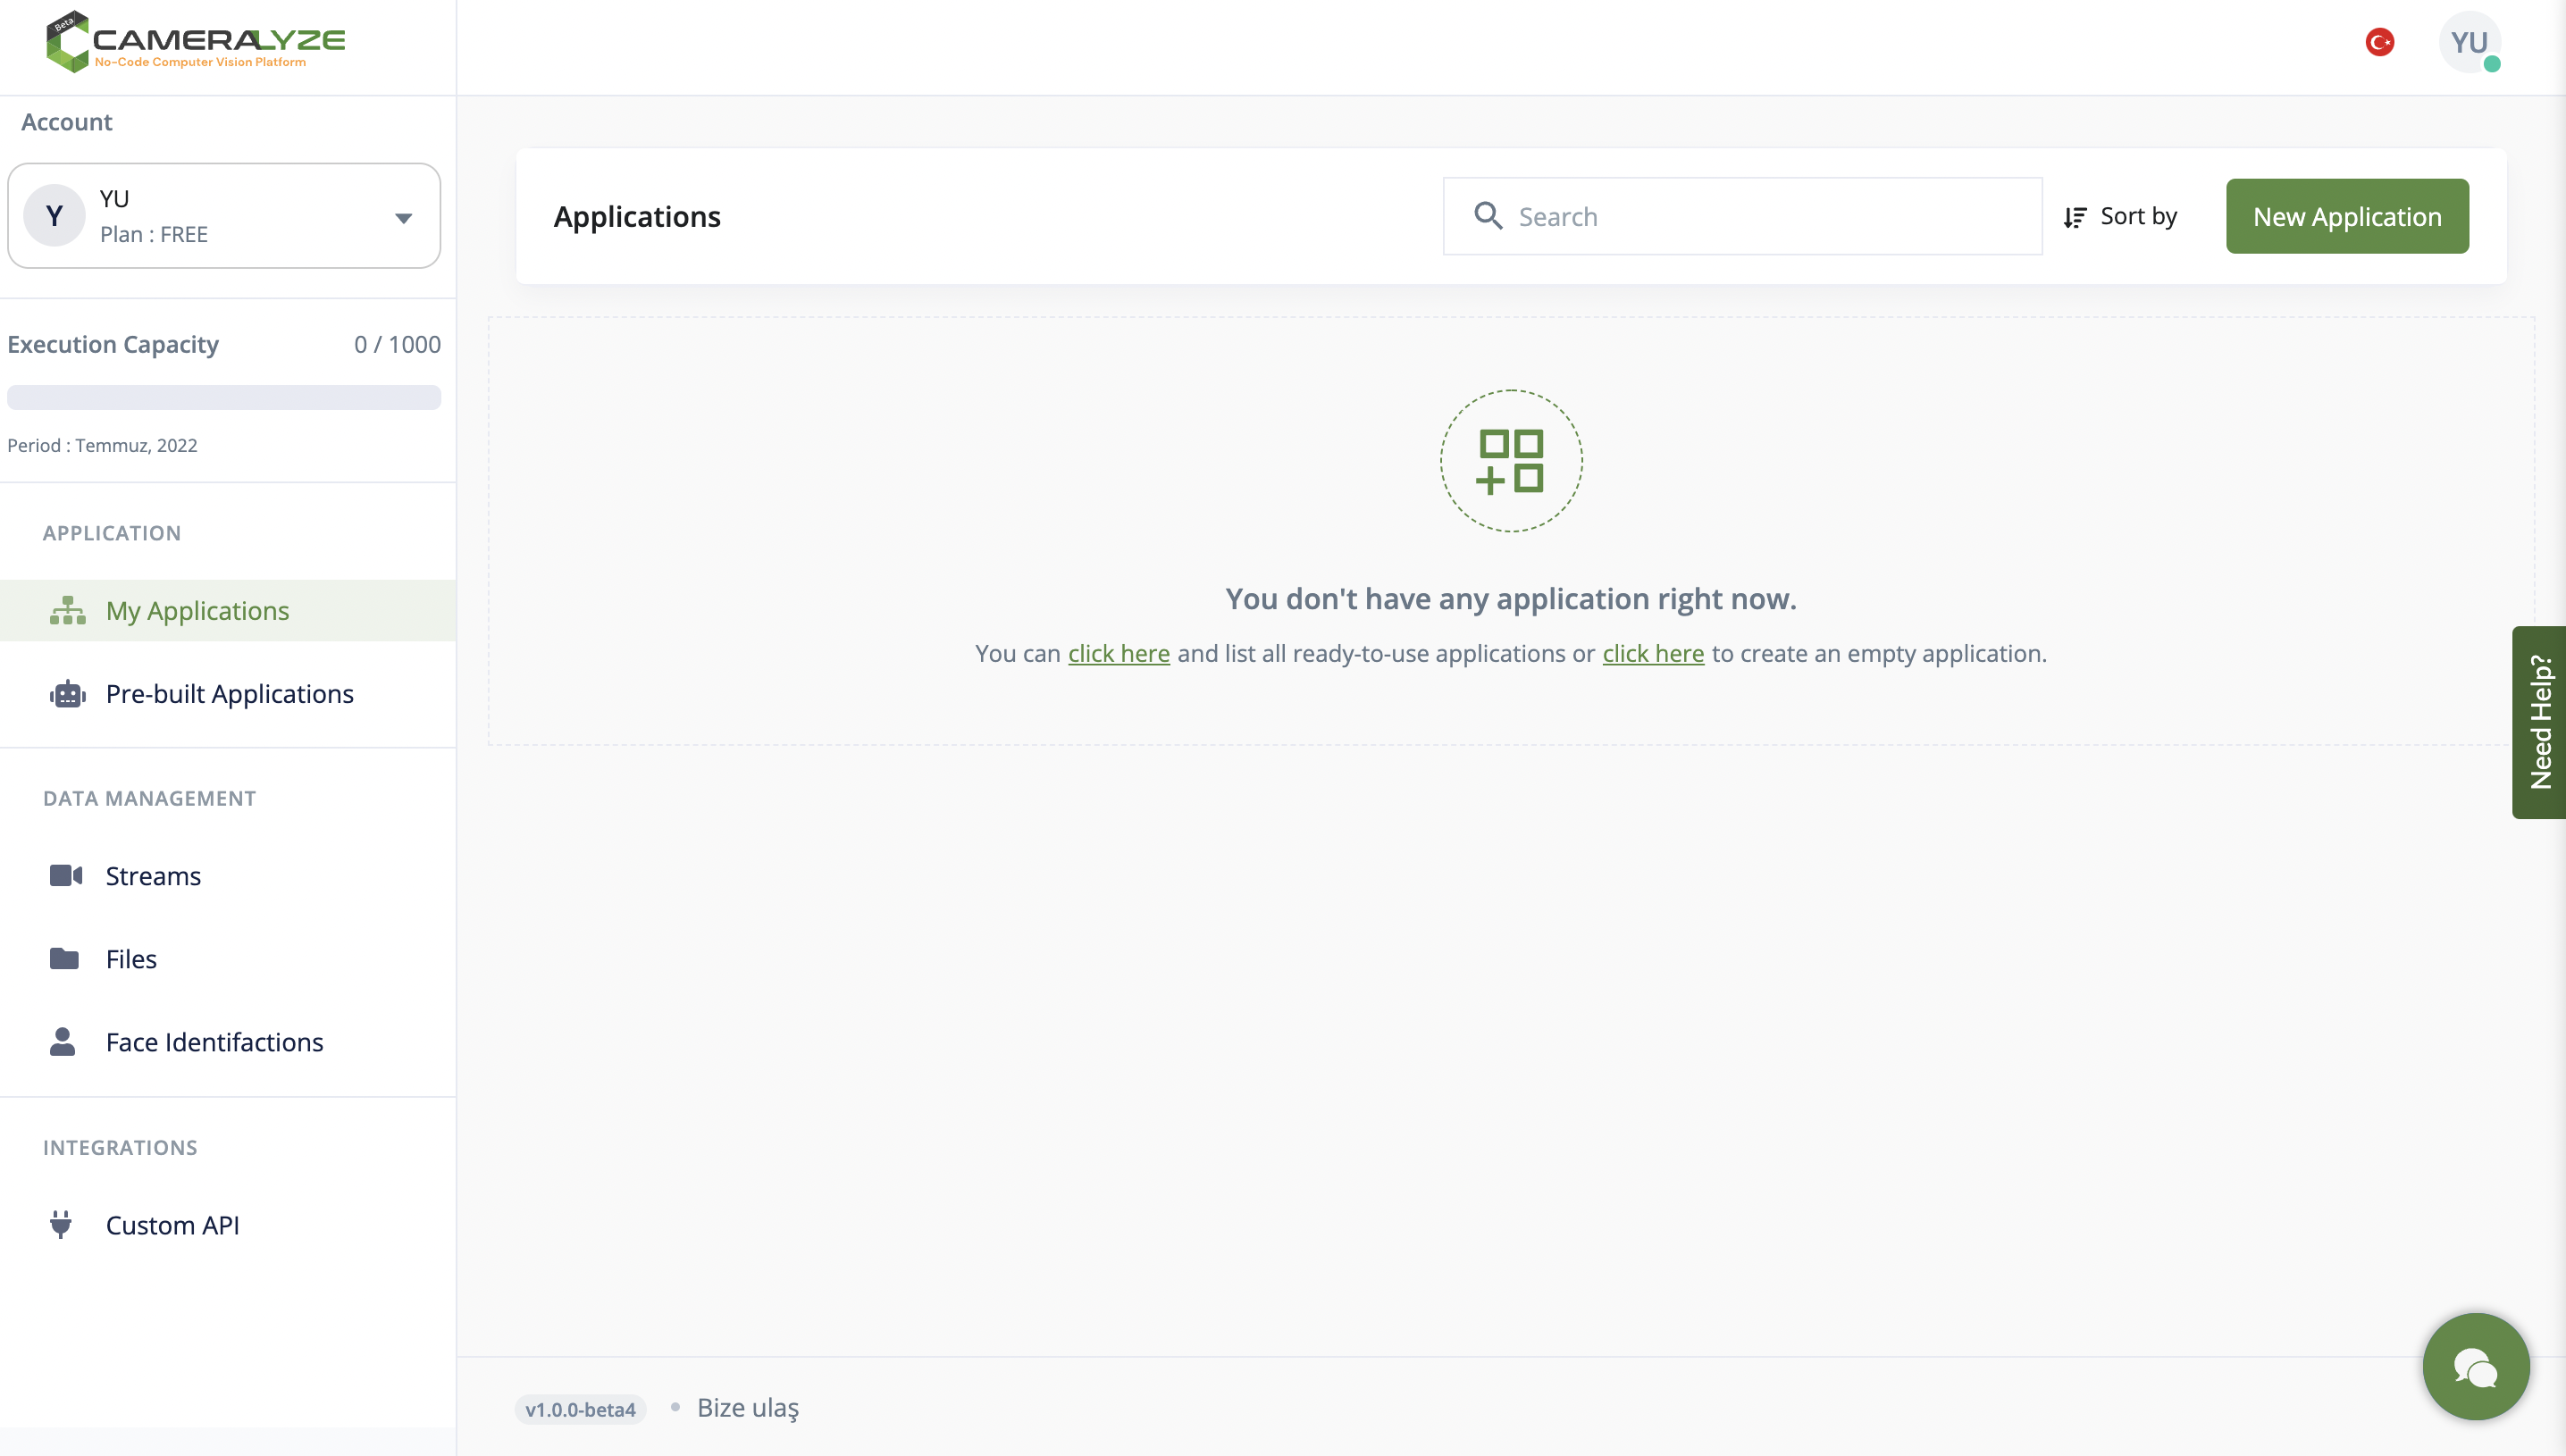
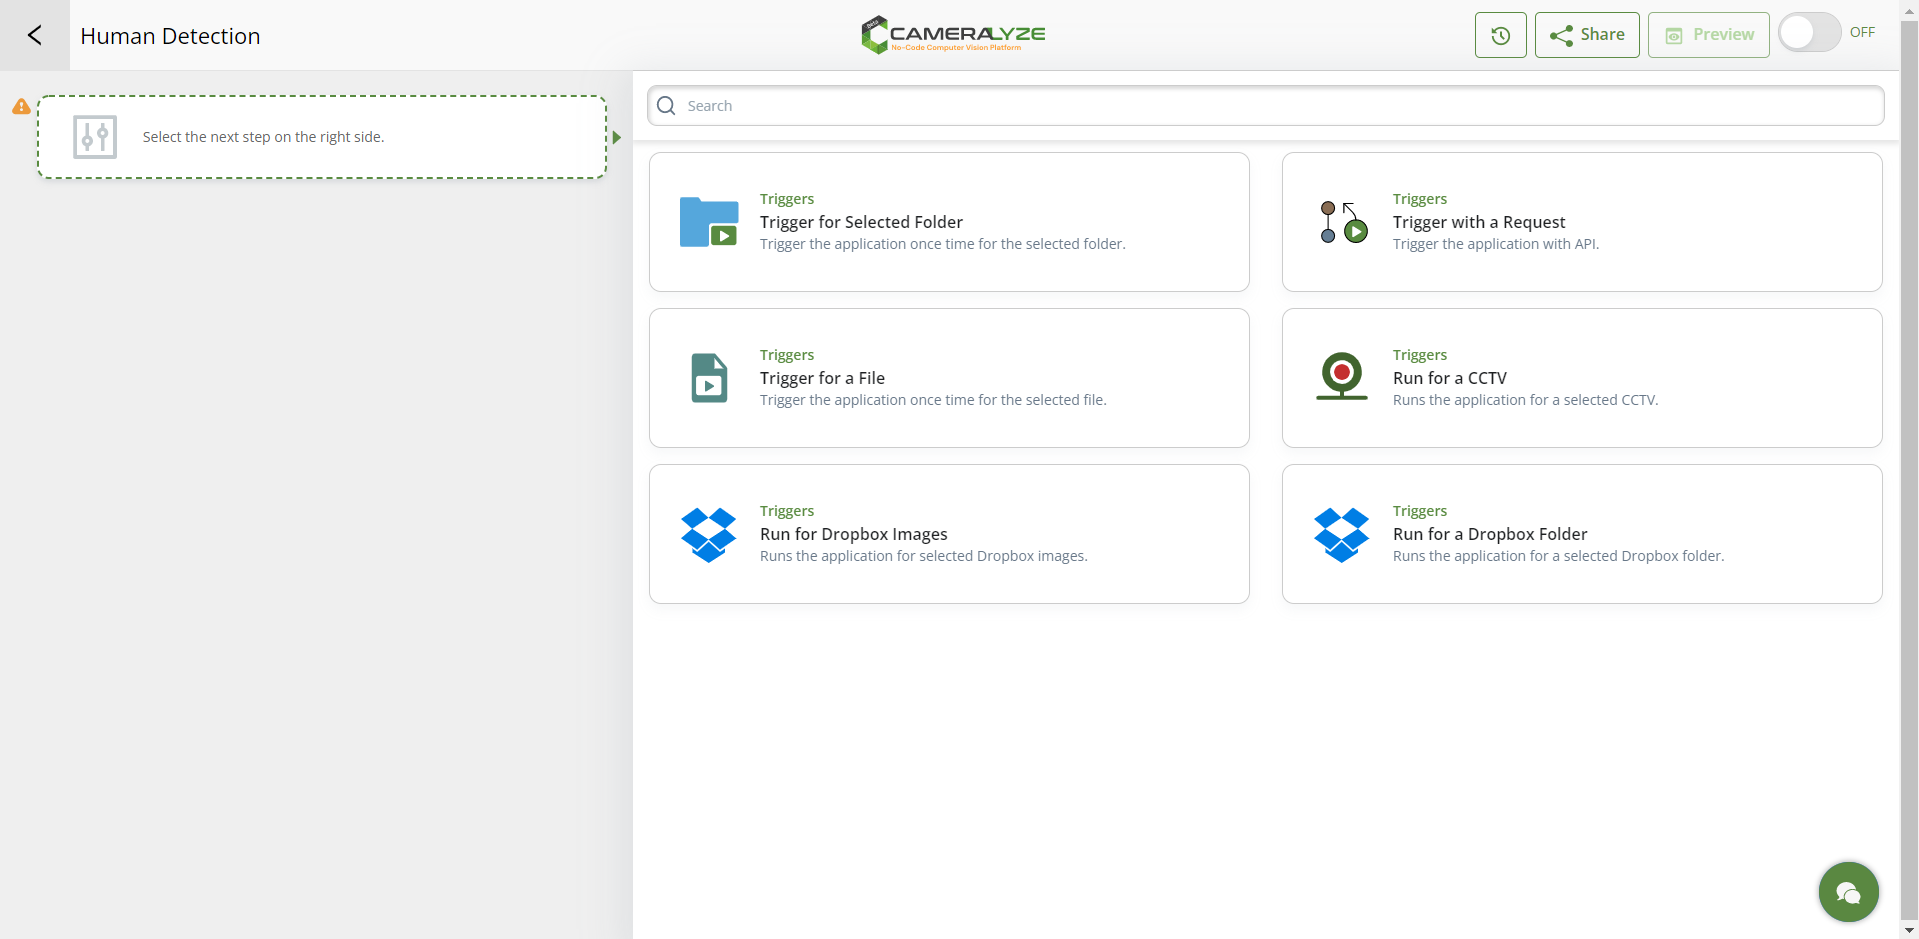
We would like to create a new application, therefore we should choose "New Application." You'll be directed to the window shown in the picture below. You should start by choosing a trigger method that will start the application. In other words, you need to choose the type of resource you'll utilize to feed data to your application. The "Trigger for a File" option is selected here.
You will be sent to the window indicated below by the system. You may quickly submit a video or photo under the "Trigger for a File" section. In this scenario, we'll upload a picture to the system that shows humans in photos.
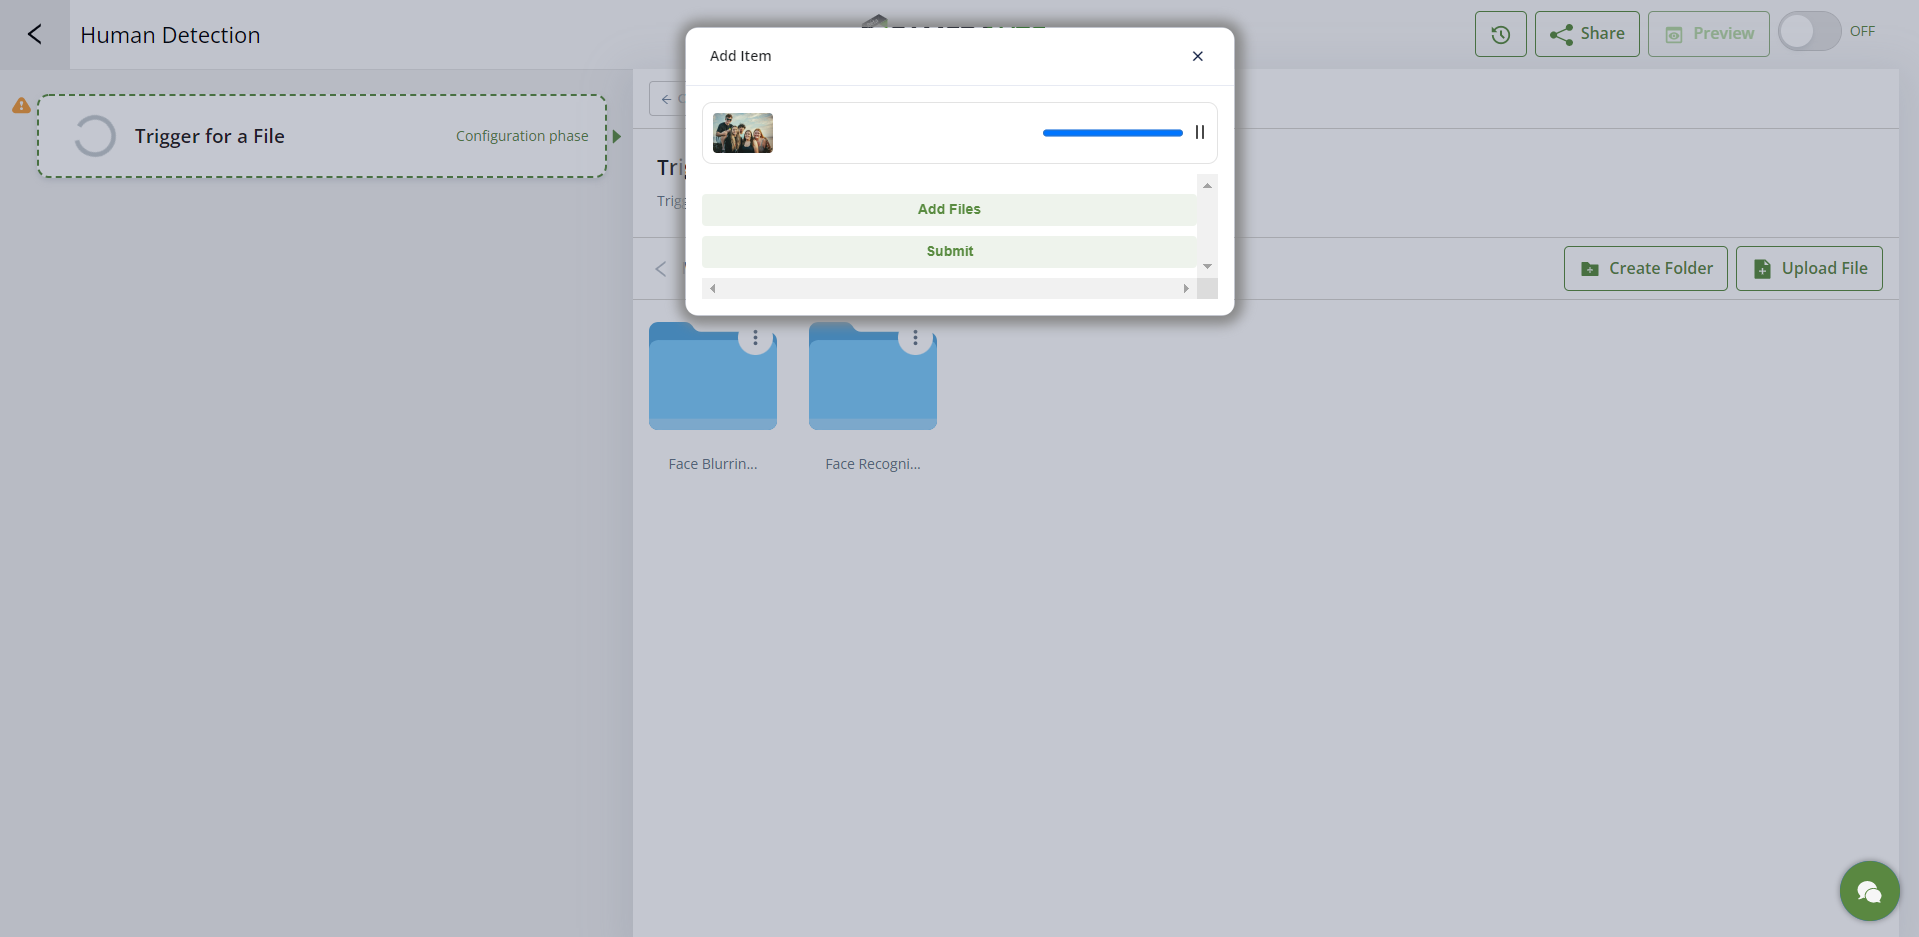
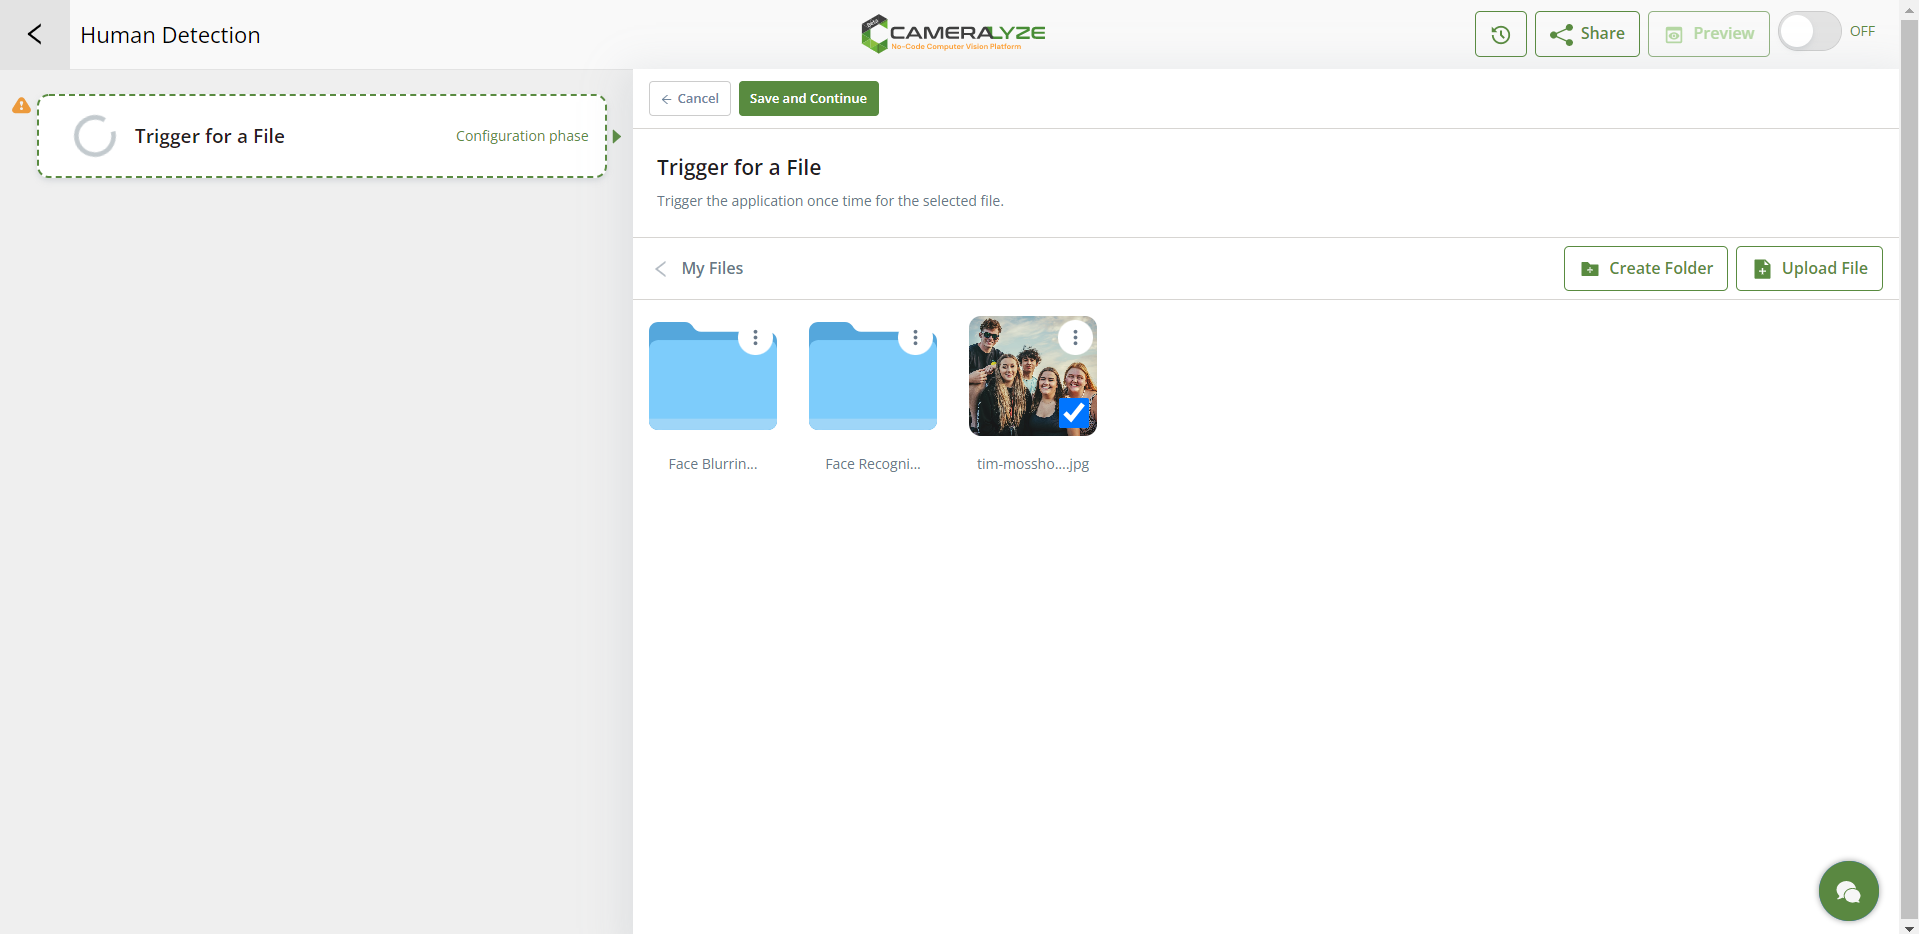
As seen in the example below, you have two options: you may choose the picture you uploaded and continue, or you can create a file and upload photos in it, then choose the folder where you created.
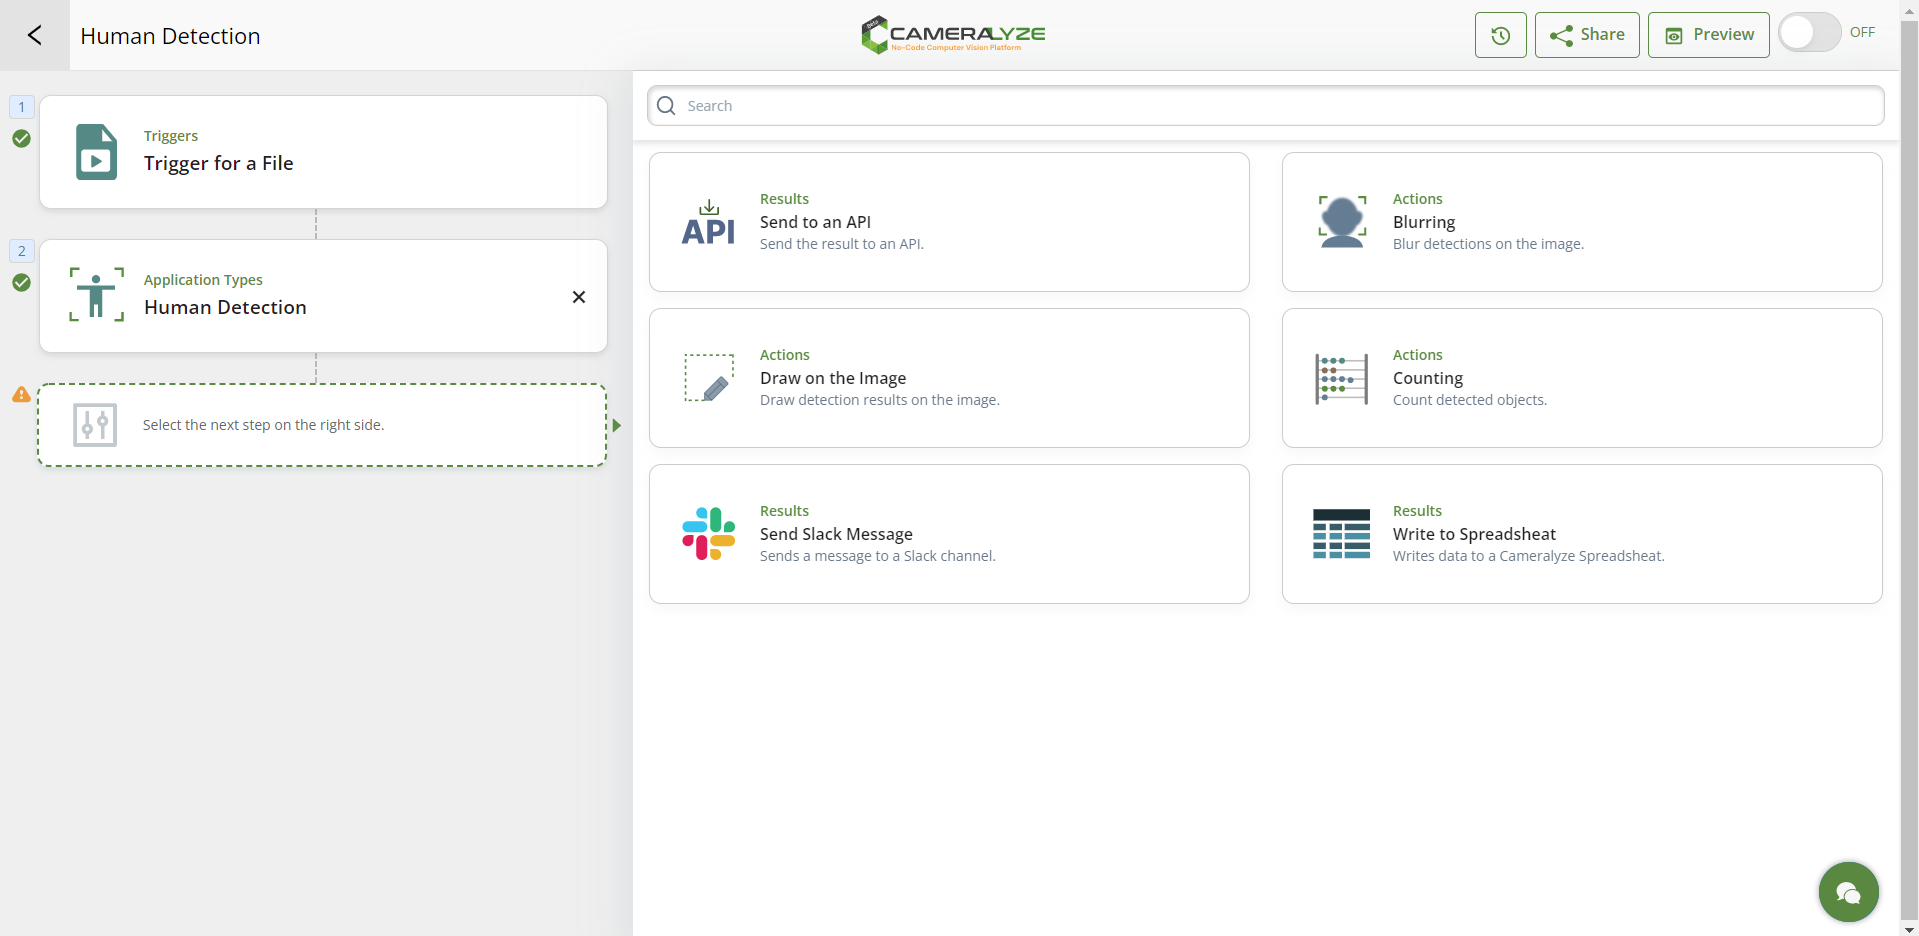
After that, a screen allowing you to choose your application type is presented to you. At this point, we choose "Human Detection" to continue.

When you choose the human detection card, a window that looks like the one in the image below will appear. In order to enhance the results data, you should now select the type of result you desire from your application results. You may use Cameralyze's solutions, such as its API, Slack, Sheet, and other platforms, in combination with its amazing integrations to get the outcome you want. I decide to choose "Save to an API" in this instance.
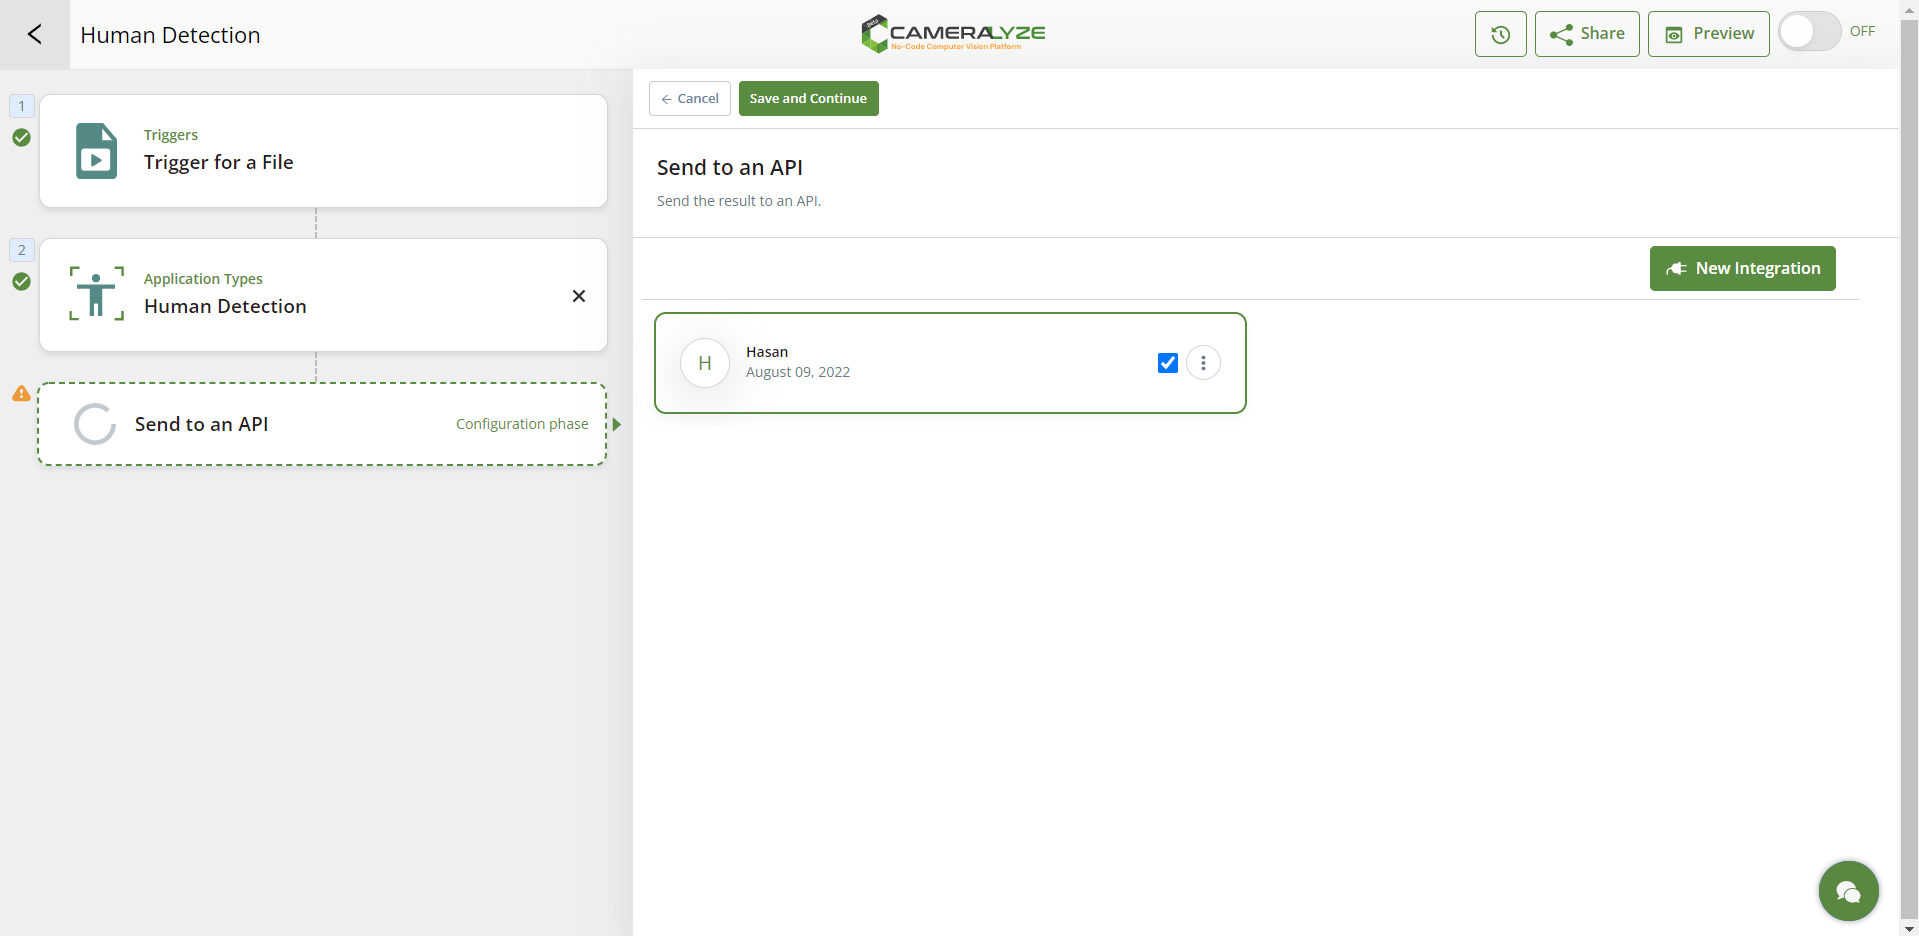
The picture below shows how you must pick one of the previously constructed API choices after selecting the API option. In this instance, I selected the next API option and continued.
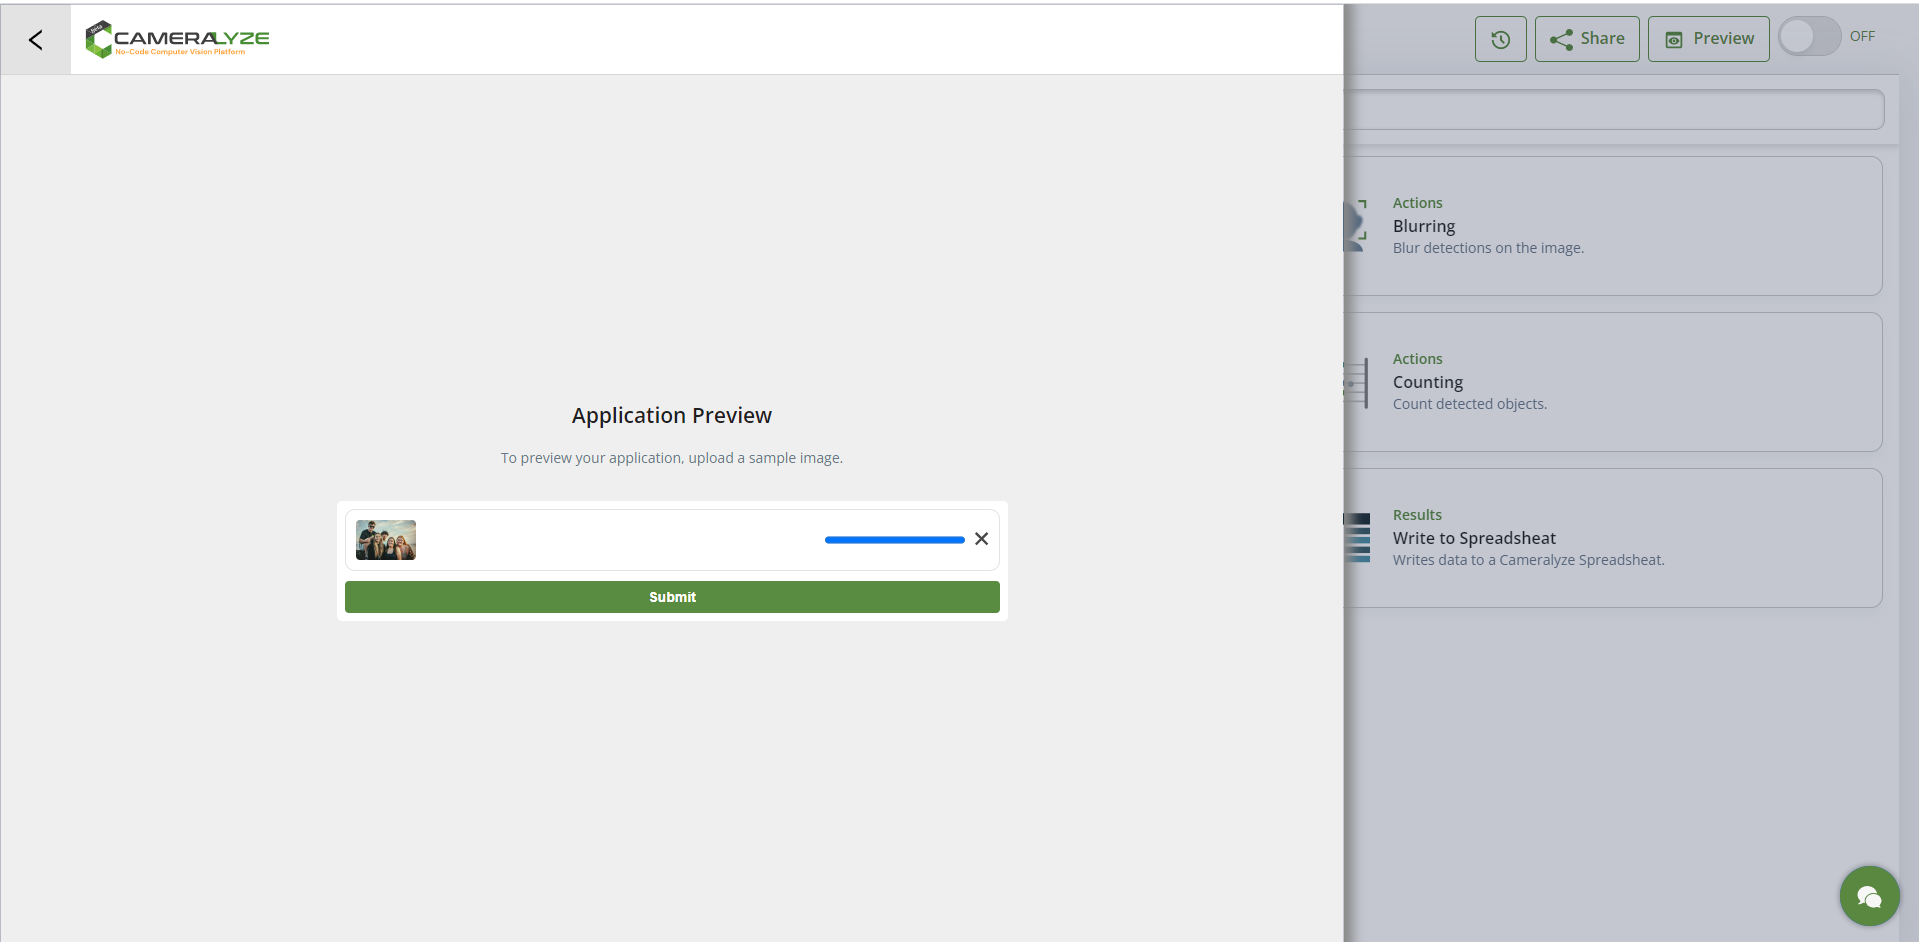
I use the "Application Preview" option to test the effectiveness of the app I created before sending it, and then I export the results to JSON Response, Google Drive, Dropbox, Slack, and other services. To give you an example, I submitted the exact same image as the image previously uploaded.
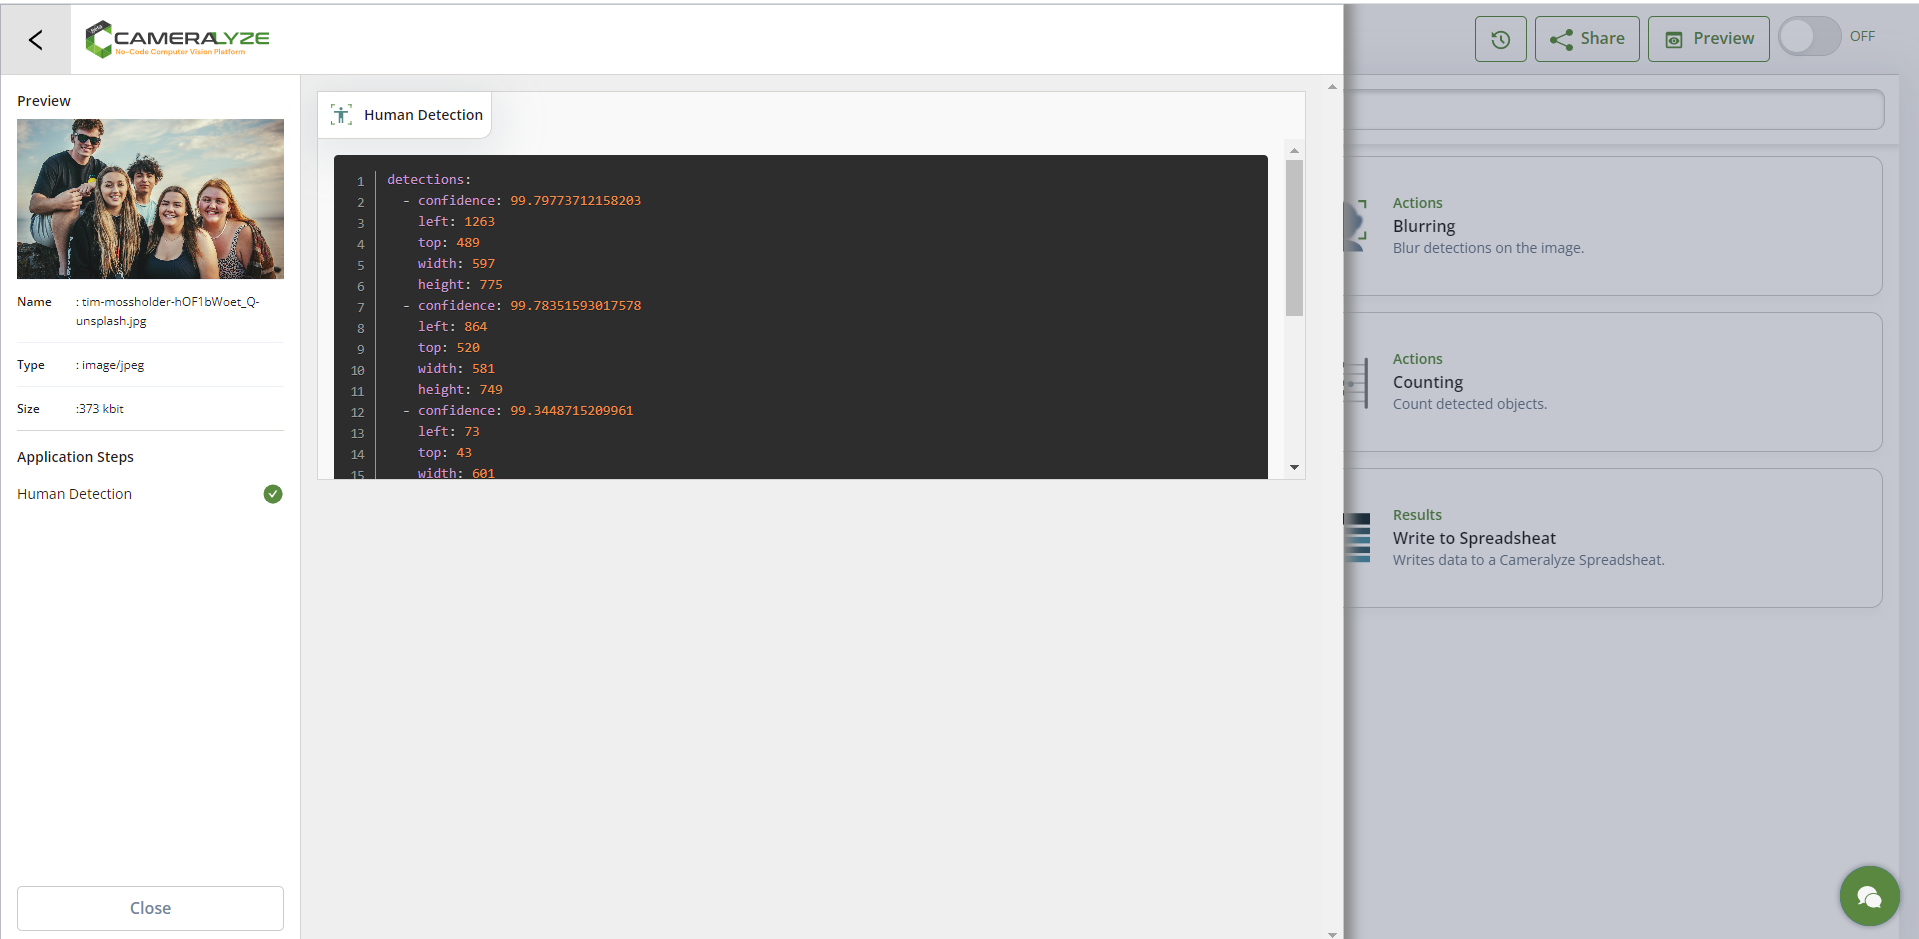
The preview in the image below demonstrates how we can also get the JSON response when "Previewing."
We selected to submit the application results as the final step after confirming that the software was working properly using the "Preview" option. In the "Result" area, you have three options: save your result to a spreadsheet, send it to an API, or save JSON return results.
To view all integrations, click here!
It's just that simple!
.png)