How to Build a Real Time Barcode Reader Application?

How to Build a Real Time Barcode Reader Application?
In today's world, barcodes are everywhere. They are printed in ads, etched on practically every component of your vehicle's engine, and even printed on the side of your soda bottle and the labels of your soup cans. Wouldn't it be wonderful if we say you can create your barcode detection application which you can customize according to your needs? Thanks to Cameralyze, now we can create a customizable Real Time Barcode Scanner app on Cameralyze's no-code platform.
You can watch our guide video or continue reading to create your own Real Time Barcode Scanner application on Cameralyze no-code platform.
First of all, after signing up, you will see a dashboard like the one below;
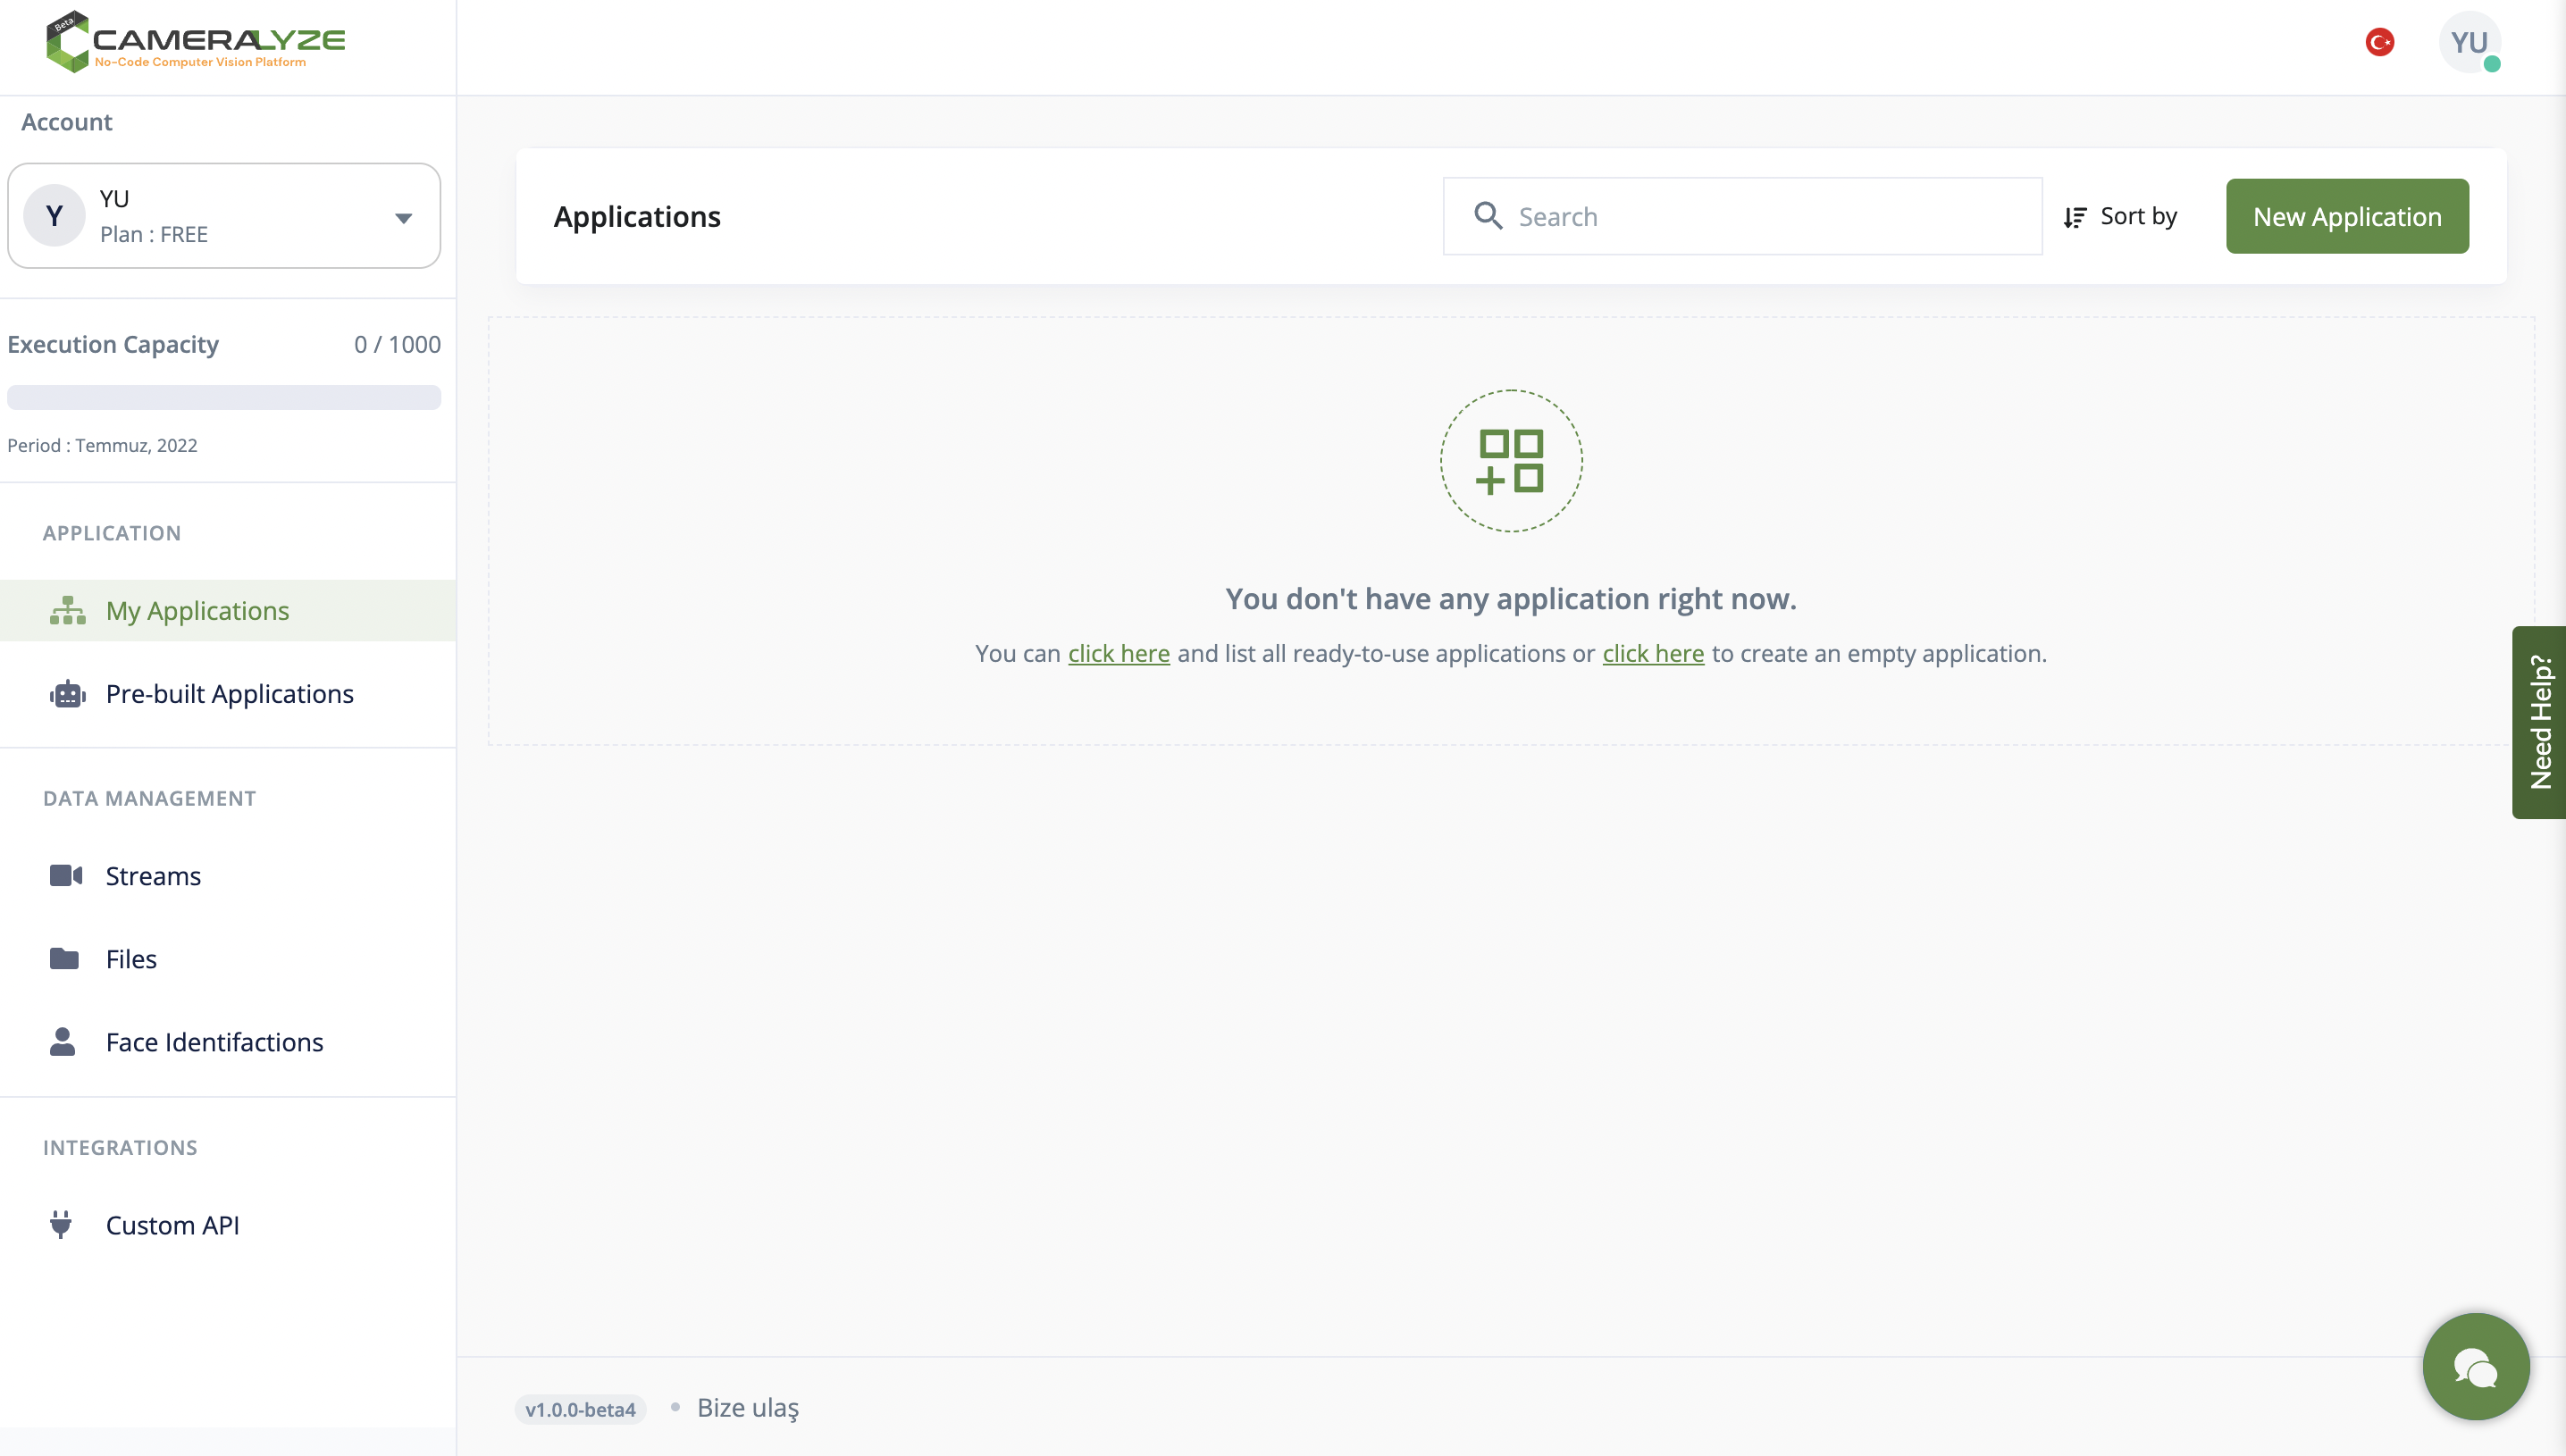
The interface is very user-friendly. Since we want to build a new application, we click the "New Application" button. You will be directed to the window with the image below. As a first step, you should choose a trigger method that will trigger the application. In other words, you should select the type of resource you will supply data to your application. Here we choose the "Trigger for a File" option.

You will be directed to the window with the image below. You can quickly upload a video or an image in the "Trigger for a File" option. We will upload the barcode image to the system and select the uploaded image.

Suppose you want to keep your images in a specified folder that you created for yourself. In that case, you can quickly create a folder for yourself by choosing the "Trigger for Selected Folder" option or with the current example option. You can also trigger the application by entering a request. Now let's select the uploaded image to start the application. Then you should choose the image by clicking on it and clicking "Save and Continue."

Then you are directed to the page that helps you choose your application type. In this case, we choose "Barcode Reader" to step forward.

A window will open like the image example below when you click on this card. At this point, to make the outcome more suitable, you should select which result type you would like to get from your application outcome. Thanks to Camerayze's solution-oriented interference, you can get your outcome through many solutions that Camerayze offers you, such as API, Slack, Sheet, etc. In this example, I choose the "Write to Spreadsheet" option.

After you choose the spreadsheet option, you will be directed to the screen below to create a spreadsheet to record your outcome.

To register your work in the system, you should create a spreadsheet name.

At this point, you should choose which spreadsheet file AI will save your result. Then click on Save and Continue.

Before exporting the results to JSON Response, Google Drive, Dropbox, Slack, etc., I click the "Application Preview" button to test how the application I created works before sending it. I uploaded the same image that included the barcode and added it to the database to show you as an example.

As can be seen from the preview in the photo below, we can also get the JSON response while "Preview."

After we saw that the application was working correctly from the "Preview" option, the option that we preferred to send the results as the last step remained. There are three options in the "Result" part, and you can choose where you want to save your result to the spreadsheet, send it to on API, and save JSON response results.
You can click here to see all integrations!
That's how easy it is!
.png)